School’s In: Makeup Forever Mastery Classes
September 12, 2013
by — Posted in Beauty, Event Reviews
![]() I don’t think you can ever learn enough new tips when it comes to putting on makeup. Having someone show you how to use a product is a key selling point (look at how powerful YouTube videos have become!) One brand that seems to know this is Make Up Forever. I recently learned they offer Monday classes on how to use their makeup in various ways. I’ve loved the products I’ve tried from them and always see their products used by pro makeup artists, so I thought I’d try one out.
I don’t think you can ever learn enough new tips when it comes to putting on makeup. Having someone show you how to use a product is a key selling point (look at how powerful YouTube videos have become!) One brand that seems to know this is Make Up Forever. I recently learned they offer Monday classes on how to use their makeup in various ways. I’ve loved the products I’ve tried from them and always see their products used by pro makeup artists, so I thought I’d try one out.
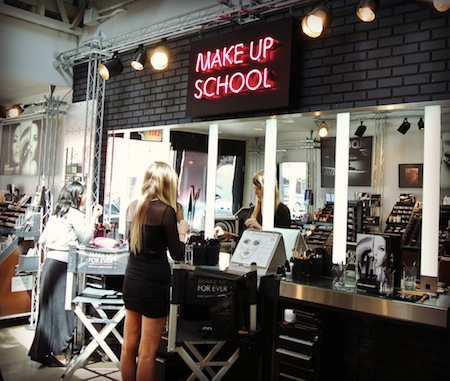
The class I attended was for “Ageless Beauty” and the goal was for skin to look lifted and dewy, no matter what your age. What I loved about the class is that you come with no makeup on (or wash it off there) and you get to put on a full face of makeup, trying Make Up Forever’s products and brushes. The Head Makeup Artist does a demo for each step on her model (another employee/artist there) and then you try it on your own face.
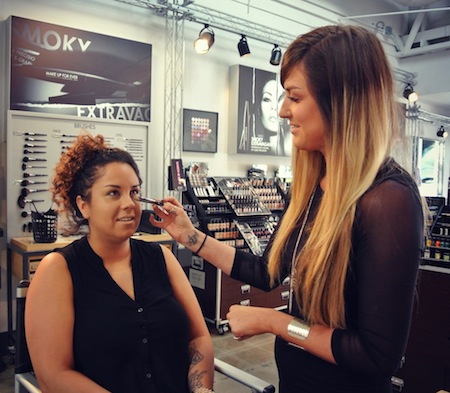
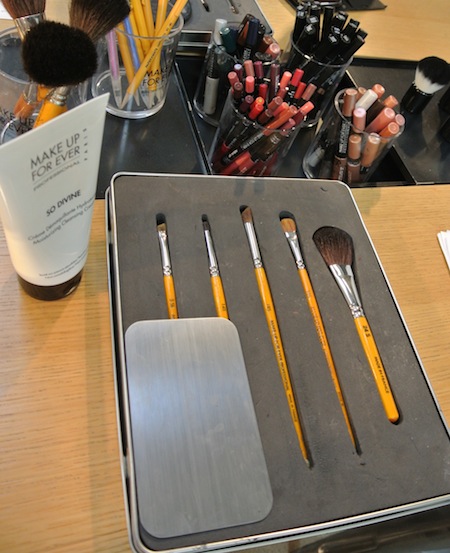
In my class, Talia was our instructor and she helped us pick out the right shade of each product and the right brush to use. We were lucky that the new Make Up Forever line of artisan brushes just came in and we got to use those. (They are fantastic!) She also asked if there were any products we’d been wanting to try. For me, it was the Mat Velvet Foundation and Pro Finish Powder.
This is what I learned and used,
FACE
Start with HD Microperfecting Primer
FOUNDATION
When applying foundation to the face, start at the center of the face — from the side of the nose out across the cheeks — when the brush has the most product on it for the most coverage. Then use a fluffy brush to buff it out. I use flat brush number 176.
For the demo, Talia used the Liquid Lift Foundation for an “ageless”, dewy look. It provides a sheer to medium coverage look. I used the Mat Velvet Foundation and fell in love with its creamy texture, full coverage and matte finish. Great for pinup looks that I usually wear!
CONCEALER
We used the Full Coverage Concealer, a product I have at home and love. It does just that – it will cover anything from blemishes to hyper-pigmentation to scars with a smooth, silicon-based finish.
For the demo, Talia suggested the concealer can be used under the eyes for dark circles and on the eyelids as a primer but I did not have good luck with this. It felt too heavy for those areas and went into the fine lines under my eyes.
HIGHLIGHT DEFINITION
Talia explained that the concealer can also be used as a face-sculpting highlighter by choosing a concealer color that is a shade or two lighter than the face (I usually use foundation for this) and applying with a flat brush high on the cheeks near the eye, above and below the eyebrows at the arch, and on the bridge of the nose.
CONTOUR
When contouring, start at the top of the ear and brush in to contour just under the top of the cheekbone. Do not put contour at the side of the face, it will make the face look droopy. You want a lifting effect. I used brush number 152.
BLUSH
For a dewy look, cream blushes are better than powder. HD Microfinish Blush First Kiss number 12, which is a bright apricot color that I really loved. The creamy formula blended right in for a natural glow. I used brush number 140.
POWDER
Buff powder on places where the face tends to get shiny or all over for a more matte finish. I found the Mat Velvet Foundation really didn’t need much power but I got to try one of my wish list items, the Pro Finish Powder in number 117.
BRONZER
Bronzer goes along the jawline and anywhere the sun might naturally hit. I used the Mat Bronzer in number 20.
HIGHLIGHT ILLUMINIZING
For an illuminating highlight to make cheekbones and other high-points pop, we tried the Uplight Face Luminizer Gel but I found the liquid broke up the mat foundation and looked splotchy. I repaired the foundation and decided to try a powder highlight instead, using the Star Powder in 940, which is a light iridescent white/pink/orange shimmer. That looked amazing! I used brush number 144.
EYEBROWS
We used Aqua Brow and Talia taught us to mark the darkest point first, which is at the arch, then extend the intensity of color out toward the temple. You will want a lighter hand closer into toward the nose.
EYESHADOW
We learned a “lift” technique when applying eyeshadow to create the illusion of “ageless” eyes. Pat a light shadow such as number 125 on the lid with a flat brush. Then use a black or brown Kohl Pencil liner and mark the center of the eyelid the outside point and the lower center point, then connect the dots. Pull the liner up to an outer “V”. Then blend in until the black line is buffed out but not so much that you lose the line. Use a brownish color to fill in the “V” a little bit, then pop of bright color in the center.
LIPS
Mark the cupids bow and the outer corners with a lip pencil and connect the dots. I used the Aqua Lip Waterproof Lip Liner in number 4c.
We got to try the new 5-lipstick Rouge Artist Palettes (available only in the Make Up Forever Boutiques). The color I used was number 25 intense, I believe from the Coral palette. It was a nice creamy formula of highly pigmented color.
SET TO STAY
Set the face with Mist & Fix Spray – 3 light sprays should do it. This formula helps hold makeup without a lot of touch ups.
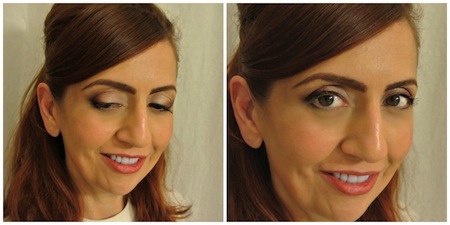
I was pretty happy with my final look and walked out of there with a few new goodies. You get a 20% discount on purchases when you take a class – can’t beat that!
For upcoming classes, check the schedule on the Make Up Forever website. Classes are held Mondays at 11 a.m. and 7 p.m. Cost $25. Attendees get a 20% off shopping discount.
They also offer more personalized MakeUp School sessions to learn makeup just for you. Read more.
My school days were never this fun!
Kastle
![]()
![]()
![]()
![]()
![]()
![]()
![]()